Last time we have learned how to set up the Processing Development Environment. We have covered how to download and install the PDE, then create your first sketch.
In this blog post, we will explore the basics of how Processing works. The topics covered are:
- How the coordinate system works
- How a sketch is structured
These two topics should be a good foundation to make cool sketches with Processing.
Let's get straight to it!
The coordinate system
In elementary school, we learned all about the coordinate system. We can draw points on it, draw lines from point A to point B, express functions on it, and many more.
This elementary school coordinate system looks like this:
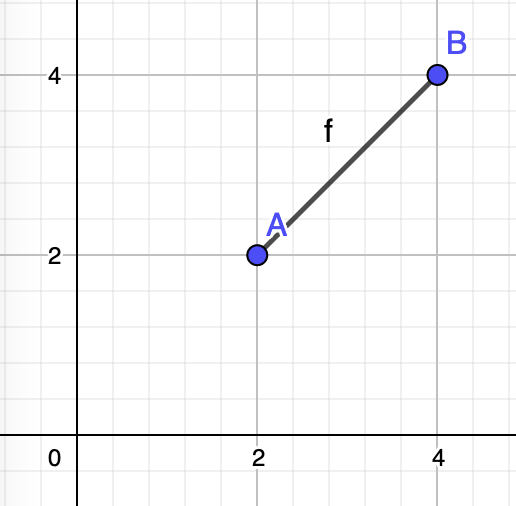
The image is a graph, which draws a line from points A(2, 2) to B(4, 4). Pretty straightforward, right?
In Processing, every point can equal a pixel. So, for example, if we define a sketch that is 600x600 in height and width, that means we have 600 pixels on the X-axis and 600 pixels on the Y-axis.
The main difference is, that in software we work in the 4th quadrant:
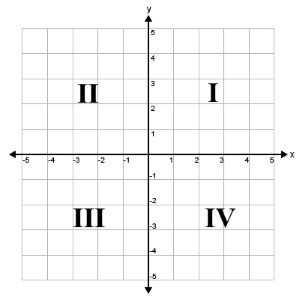
The 4th quadrant is the bottom right one. In a sketch with the width and height of 600, the top left is where a point P(0,0) is, and the point P(600, 600) is in the bottom right corner.
Let's see an example:
void setup() {
  size(600, 600);
}

void draw() {
  background(0);

  // White cirlce
  fill(255, 255, 255);
  // X value is 0
  // Y value is 0
  circle(0, 0, 100);

  // Red circle
  fill(255, 0, 0);
  // X value is 0
  // Y value is 600
  circle(0, 600, 100);

  // Green Cirlce
  fill(0, 255, 0);
  // X value is 600
  // Y value is 0
  circle(600, 0, 100);

  // Blue Cirlce
  fill(0, 0, 255);
  // X value is 600
  // Y value is 600
  circle(600, 600, 100);
}
The output of our sketch is this:
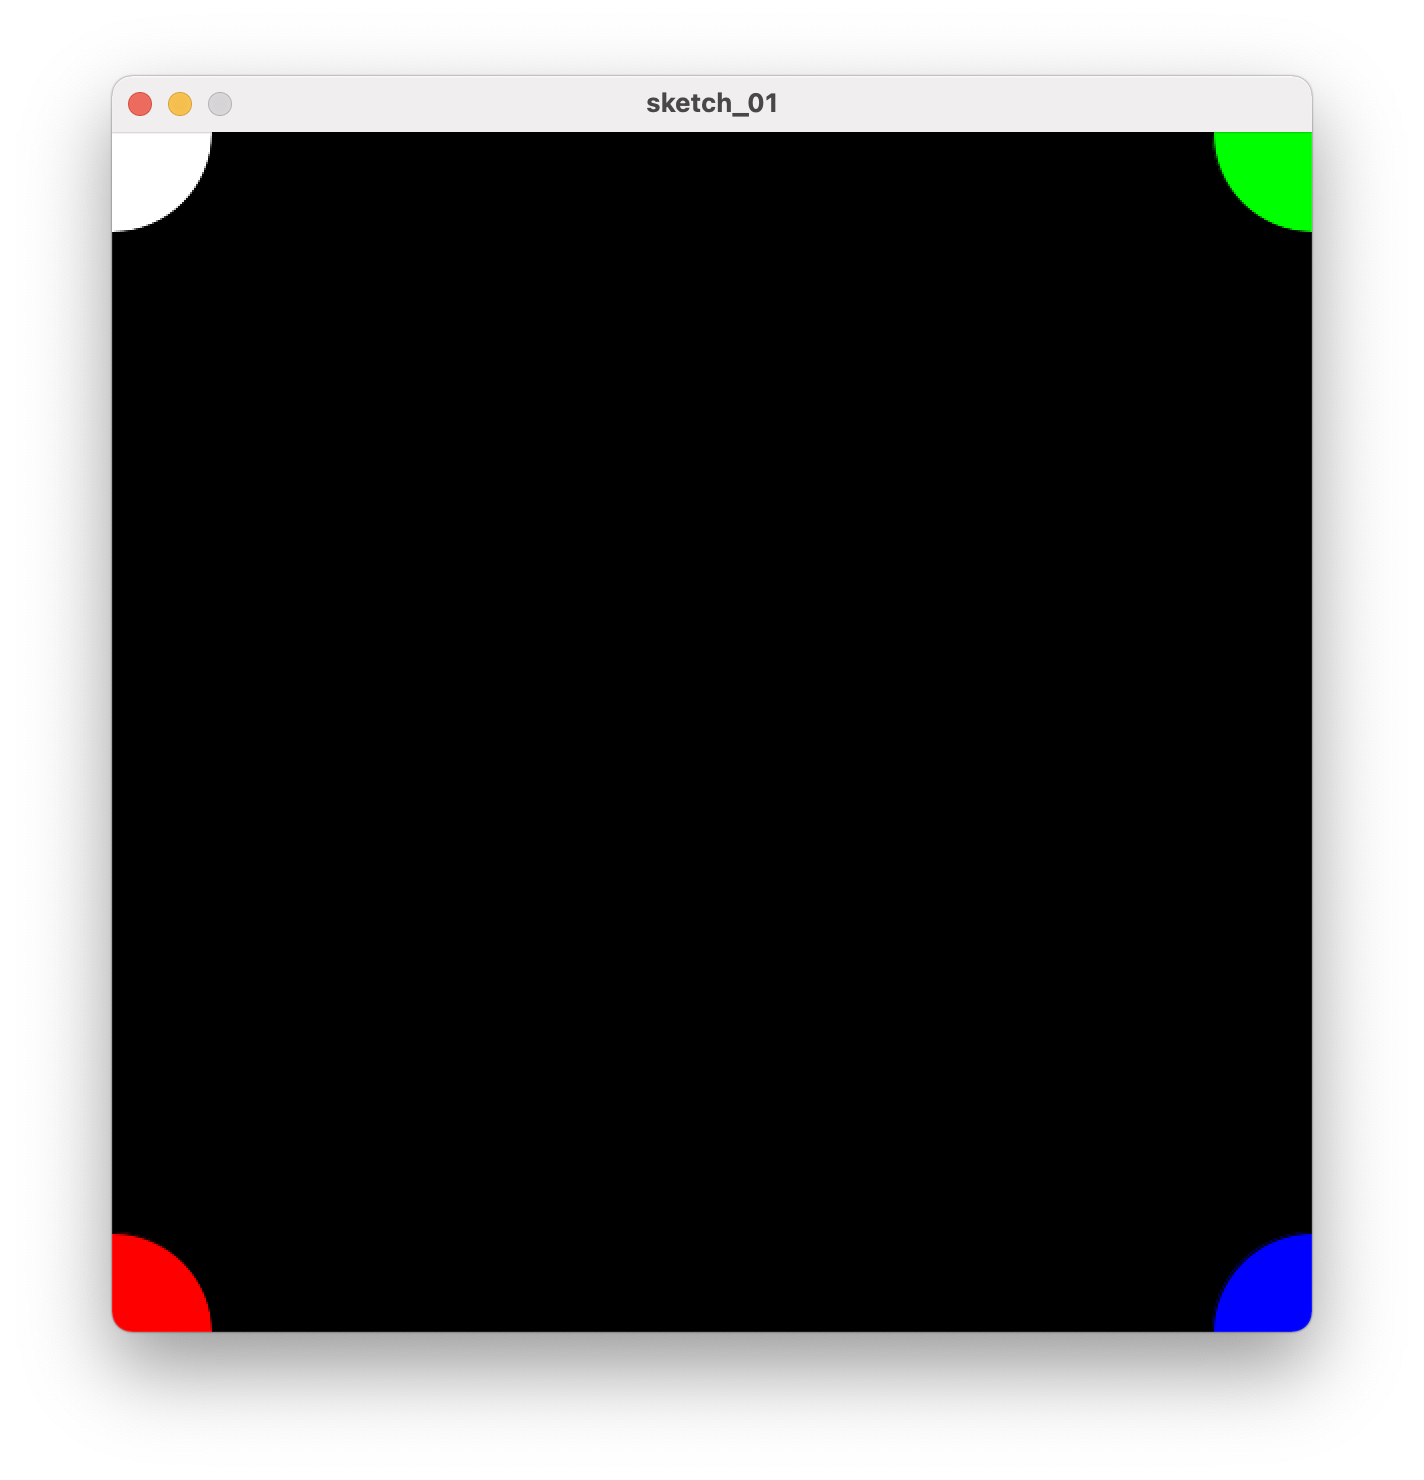
We created four circles: white on the top left, blue on the top right, red on the bottom left, and green on the bottom right. We can see the coordinates passed into the circle() functions:
- The first white circle is top left with coordinates W(0, 0).
- The second one is the red circle with coordinates R(0, 600).
- The third is green with coordinates G(600, 0),
- The last is blue with coordinates B(600, 600).
If you're wondering what the last argument in our circle(x, y, r) function calls are, it is actually r, which defines the size of the circles (radius).
Now when we understand how the coordinate system works, let's learn about the structure of a sketch.
The structure of a sketch
A typical processing skeleton might look something like this:
void setup() {
  size(900, 900); // Set the size of the window
}

void draw() {
  background(0); // Set the background of our window
}
Here we declare two global functions. First is the setup, in which we set the window size to be 900 width and 900 height.
In the second global function called draw, we set the background to 0, representing the black background. The colors vary from 0 to 255. 0 being complete black and 255 being white. The in-between colors are shades of gray.
setup()
The setup is a function that is run once, at the start of the program, and then never again. It is where we define the initial properties of our sketch, the first and most common being the size of our sketch.
It is good to define things that are used all over your sketch here. For example, if we want a stroke of weight "3" and then never change it, we should define that in the setup instead of in the draw function. Doing this saves precious computing power when running your sketch!
draw()
The draw function is the meat and bones of our sketch. It is where we draw our elements and make them move, dance, do sports, whatever we want! The first time it's called is directly after the setup. After that, it runs continuously in a loop until we exit the program.
The times it is called and executed is called the frame rate. The default frame rate is 60 frames per second (FPS). This means that the draw function will be called 60 times in a single second.
If we want to change this frame rate, we can do so by using the frameRate function in our setup function. It looks something like this:
void setup() {
  frameRate(120);
}
The setup sets our frame rate to 120 FPS to get those awesome smooth animations.
Let's see some examples
Let's create a sketch that draws circles on the screen when moving our mouse. We've used this example to test our installation or the Processing Development Environment.
void setup() {
  size(600, 600); // Sets sketch size to 600x600
  background(0); // Sets background to black
}

void draw() {
  fill(#f1f1f1); // Sets the fill color to white
  circle(mouseX, mouseY, 50); // Draws the circle on your current mouse pointer position
}
First, in the setup function, we set our size to the height of 600 pixels and width to 600 pixels with size(600, 600);. After that, with background(0); we set the background of our sketch to complete black.
Second, in the draw function, we set the fill of our circle to the (almost) white color with fill(#f1f1f1);. Next, we draw a circle with circle(mouseX, mouseY, 50);, we pass in mouseX, which is the X-axis coordinate of our mouse pointer, mouseY, which sets the Y-axis coordinate of our mouse pointer. Lastly, we pass in 50. This number describes the radius of our circle, which is 50 pixels.
When you run this sketch, you can see that moving your mouse draws a circle.

But what if we don't want all of our circles to stick and stay there? What if we wish to draw only one circle that follows our mouse?
We can achieve this by moving the background(0); to the draw instead of the setup:
void setup() {
  size(600, 600);
}

void draw() {
  background(0);
  fill(#f1f1f1);
  circle(mouseX, mouseY, 50);
}
When we run this sketch and move our mouse pointer to different locations on the sketch, we can see that it doesn't leave a trail:
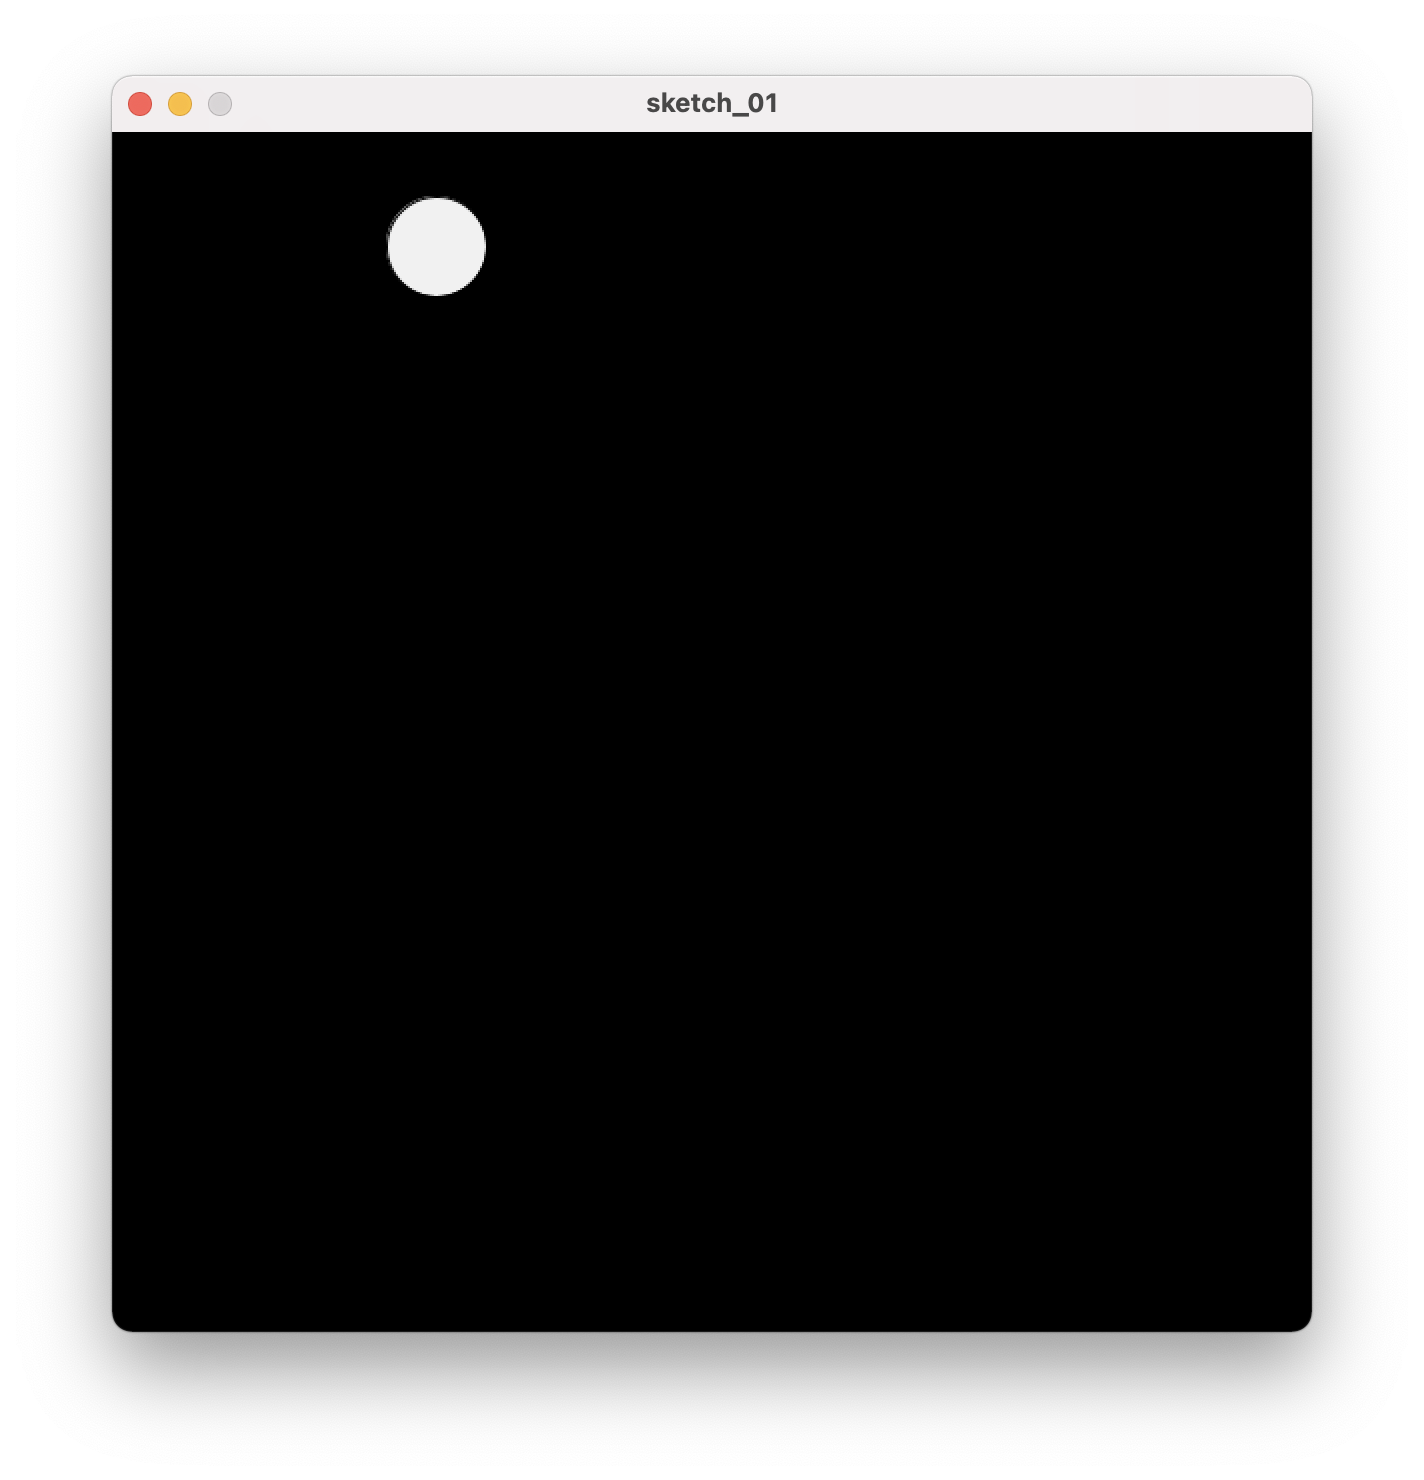
Pretty cool, right?
The difference here is that every time the draw is being called, the background is being re-drawn again. If you think in layers, in the first example, the procedure goes like this:
- run setup
- set background
- draw circle
- draw circle
- ...
- draw circle
- exit sketch
In our second example, where we move the background(0); to the draw function, the procedure goes like this:
- run setup
- draw background
- draw circle
- draw background
- draw circle
- ...
- draw background
- draw circle
- exit sketch
In the second procedure, we can see that before drawing a circle, we draw the background first!
This is the difference in how setup() and draw() functions work!
Conclusion
We've learned how the coordinate system works and host to structure our sketches. We've also figured out what the difference between setup and drawing actually is.
I hope you learned something new in this blog post!
Reach out to me: